Well, here we are, stuck in the basement remodel time warp! First order of business is to give a shout out to my husband Brent... without his ability to listen to me he wouldn't have been able to create the additional relaxation station for our growing family! Way to "Rock It Out" Sweetheart! We all love your energy and devotion to making us happy!
Here is what has been done since my last post:
- Bar area floor painted
- Bar moved in
- Drywall up, taped, mudded, and painted
- Fireplace Repurposed
- Barn Tin mounted on walls
- Barn Tin painted
- Lights hung over pool table area
If I had to tell you the most difficult part of this remodel, it would be filtering all of the "advise" that is found on the internet... It is very overwhelming! The first thing for anyone reading this blog and anyone that has Googled it and come up with what they think might be the "right" way to do something, please understand.... WE ARE NOT PROFESSIONALS! We made a very conscious decision when we started this project that it wouldn't be the Full Monty basement remodel, but an upscale face-lift. We want to make sure that we have a safe, warm, and fun area for the boys (including Brent) and to make sure that we do not have any long term moisture problems that need to be addressed before we invest $1000's of dollars in something that isn't correct. With all of that said, let's take a look at what we have come up with!
FLOOR PAINT::::::::::::::::::::::::::::::::::::::::::::: UGGGGGGGGG!
 This was where advise and everyone's personal experiences overwhelmed us, so we finally just broke down and did our own thing... something we didn't see anywhere else on the internet and haven't seen it suggested anywhere either... who knows, we might regret it later, we might not, we might be on to something, and we are sure someone will have something to say about what we decided... but if you know us, it is just the way we roll!
We decided to use Rust-Oleum Oil Based High Performance Enamel Paint in Gloss Black for the bar area floor
 |
| Bar Floor Painted Glossy Black (picture was taken with drywall dust in the air, it really is glossy), Bar is moved in |
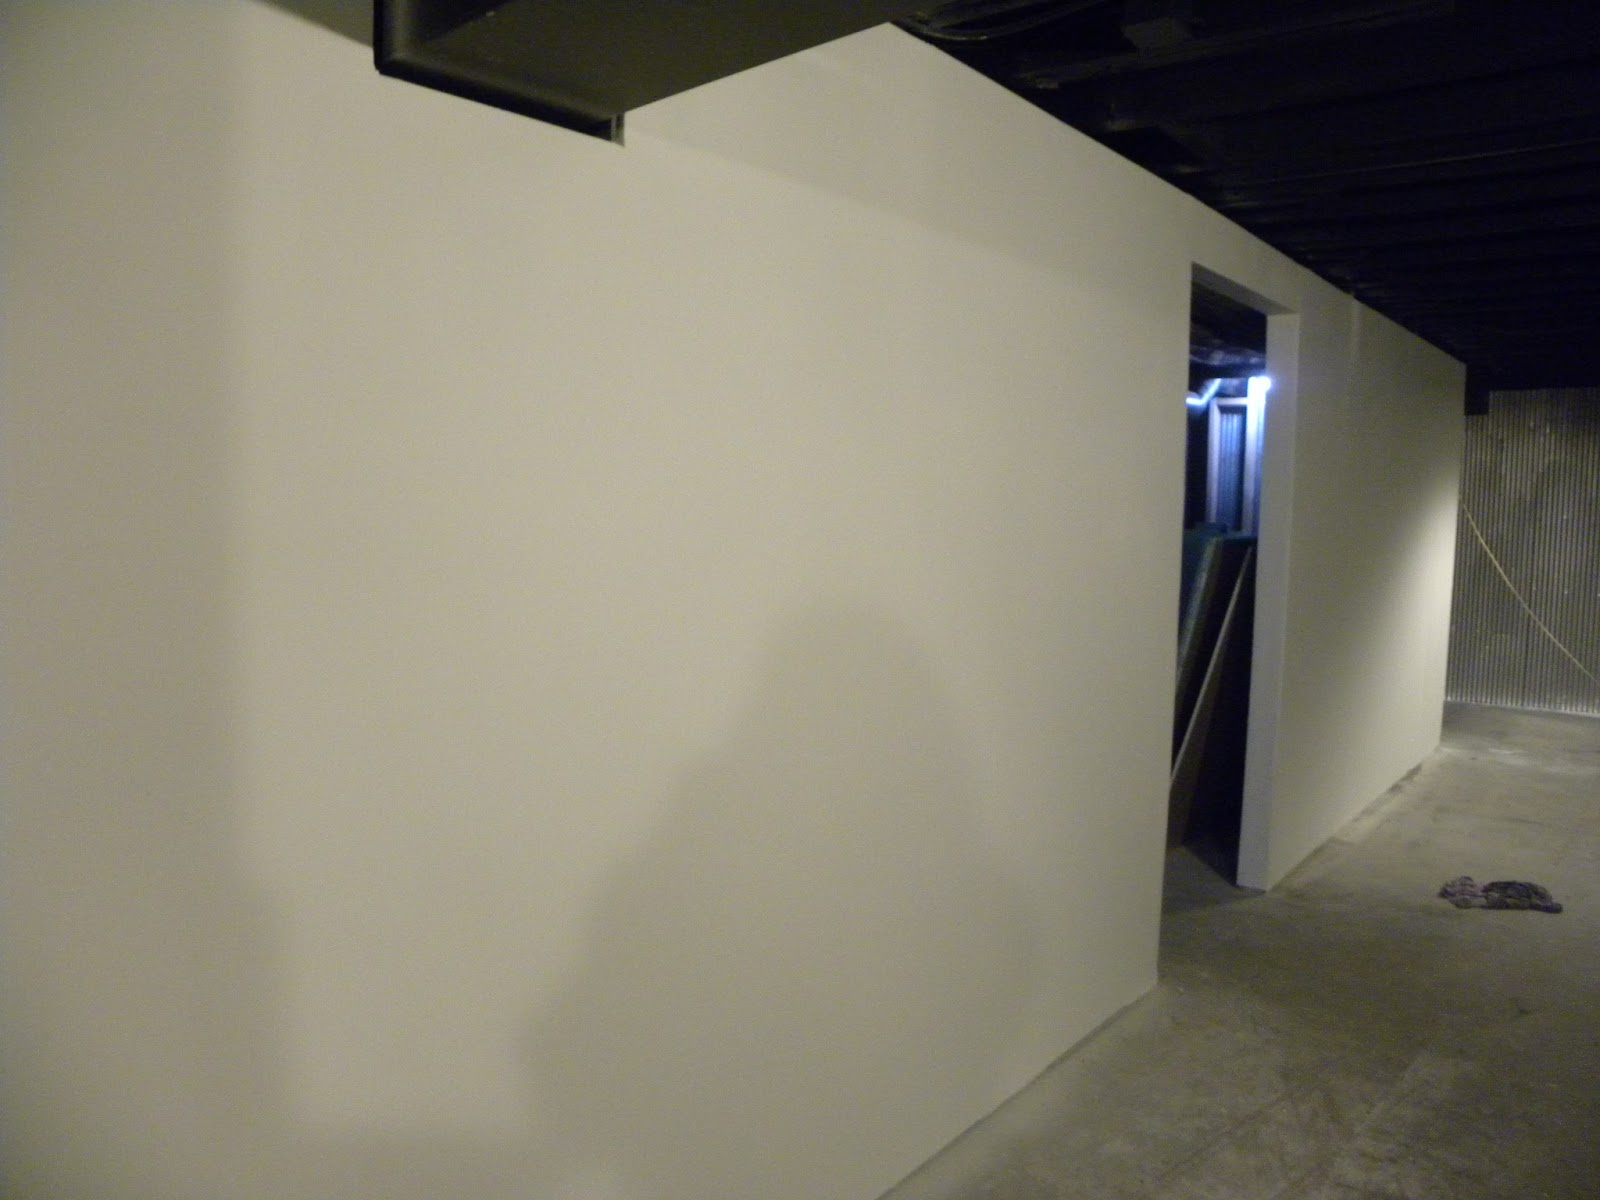
Next step was drywall: What a difference a wall can make!


We used Green Board Drywall, it is moisture and mold resistant, great product for a basement! We also made sure that any boards that touched the exterior walls and floors were pressure treated. All of the drywall was hung at least a 1/4" off the floor to help prevent any moisture from seeping into the walls from the natural moisture that concrete makes.
Here is a photo of the completed wall
 |
| $95 Craigslist Gas Ventless Fireplace Before |
We needed a heat source, so I have searched Craigslist for used gas fireplaces, for us it is the quickest, cheapest, and most effective source of heat for our small area, but I didn't want to pay retail for something that I knew wouldn't fit my style! Brent and I are very stubborn in our thinking about gas v. electric fireplaces... we think that the electric ones don't provide the heat quality and we also feel that the cost to operate is not as cheap as they are advertised to be.
 |
| Craigslist Gas Ventless Fireplace After |
For us, gas is the way to go! Here is what I found for $95, sure beats the $700 Lowe's model!
Next step was to cover up the concrete walls.... here comes the previously purchased barn tin that came from the tornado damaged barn on the Windsor Farm...
 To minimize the drilling and screws/nails in the concrete foundation Brent made sure that the tin was not mounted directly to the concrete walls. He decided that he would use 2x2 strips along the top and the bottom of the wall, secured with 3 screws each to the concrete. By doing this, Brent would be able to secure the tin at the top and the bottom 2" off the wall. This would allow the walls to breath and for us to be able to detect any potential water leaks on down the road.
To make the tin around the room feel more contemporary instead of rustic we decided to shoot a coat of paint on it to give it a fresh new look! WoW it looks soooo cool!


Brent mixes the paint with acetone to use in his spray gun... it increases the drying time of the paint and makes it easy to spray! Be ready to open the windows and leave the house for a bit, the smell is vicious! The Rust-Oleum Paints that we used provides unbelievable coverage and we are happy happy happy with it and the way it looks when dry!
We positioned two more lights in the area where the pool table will be placed! These are two of the seven lights that I found at a garage sale last summer for cheap! Love the look!

We are getting close.... keep watching, we are really going to try to have everything complete by this weekend!
Here is what we have spent in time and money so far:
The cost of Day 31-40=
Black Floor Paint = $28 + 2 hours
Moving Bar and Set-up = Free + 1 hour
Dry Wall = $148.00 (12 sheets) $40 for mud and tape + 12 hours
Barn Tin = Already calculated in previous cost
2x2's used to hang barn tin = ripped 2x4's left over from previous project =$0
Screws and Drill Bits to deal with cement walls = $50
Total time to hang tin = 8 hours (with father-in-laws help)
Aluminum Paint for Barn Tin = $28 + 3 hours
Wire & Hanging new lights (wire was leftover from another project) + 2 hours
New Lights = Already calculated in previous cost
Fireplace = $95
Gas Company Service call to install/supplies = $200
Fireplace paint = Left over + 1 hour
Mosaic Tile for Fireplace = $15 + 2 hours
Amount of time for Day 31-40 = 31 solid hours
Amount of $ for Day 31-40= $604
The running total of the project = $1504/ 82 hours
No comments:
Post a Comment